Solo Travel Photography Tips: How to Take Stunning Photos Alone
The eternal solo traveler dilemma: you’re standing in front of something incredible, and there’s nobody to take your photo. The good news? With the right techniques, solo shots can look better than couple photos — you control the angle, the timing, and the composition. These solo travel photography tips cover everything from zero-gear hacks to the small kit that transforms your travel album.
The Foundation: Your Phone Is Enough
Let’s kill the biggest myth first: you don’t need a fancy camera. Modern phone cameras are extraordinary, and for solo travel they have a decisive advantage — you’re already carrying them, they’re discreet, and the self-timer plus burst mode handles 90% of solo photography.
Before the trip, learn these three phone features cold:
- Self-timer (3s and 10s options) — your primary tool. Set it, prop the phone, walk into frame.
- Burst mode — hold the shutter for a rapid sequence. Essential for walking shots and candids; you’ll get 20 frames and pick the best.
- Rear camera — significantly better quality than the front camera. It takes practice to frame blind, but the results are worth it. Take a test shot, adjust, repeat.
The Zero-Gear Hacks (No Tripod Needed)
No tripod? No problem. Solo photographers have been improvising forever:
- The prop-and-pray: backpacks, water bottles, rocks, benches, walls, café tables — anything stable becomes a tripod. A rolled-up jacket fine-tunes the angle.
- Burst + walk: set burst mode, prop the phone, and walk naturally toward or past the camera. Movement looks candid and hides the “posing alone” awkwardness.
- The video screenshot: record a short 4K video clip of the scene with you in it, then screenshot the best frame. Lower resolution than a photo, but it captures natural moments timers miss.
- Reflections: mirrors, shop windows, puddles, and polished floors create artistic self-portraits without any setup at all.
- Ask a stranger — properly. It’s the oldest hack and still the best for must-have shots. The trick: set up the composition first (frame the shot, set exposure), then hand over the phone and say exactly what you want: “Could you keep the building in the background and me in the center?” Offer to take theirs in return — solo travelers helping each other is half the fun of the road.
The Small Kit That Changes Everything
If you want to level up beyond improvisation, this minimal kit fits in a daypack:
- A compact tripod (tabletop or travel-size, under $30) — the single biggest upgrade. Stable, repeatable, invisible in a bag.
- A Bluetooth remote shutter ($10–15) — lets you trigger from the frame instead of sprinting against a 10-second timer. Many tripods include one.
- A phone tripod mount — if your tripod is camera-threaded, this $8 adapter is essential.
- Intervalometer apps (like LensBuddy) — set the phone to shoot every 5–10 seconds automatically. Walk around naturally and collect dozens of candid-style frames.
Total cost for the full setup: under $50. Total weight: negligible. This kit lives permanently in my daypack — for packing the rest of your gear right, see our solo travel packing checklist.
Posing When There’s No One Directing You
Posing alone feels awkward because there’s no feedback loop. These techniques fix that:
- Move, don’t pose. Walk, twirl, look over your shoulder, adjust your hat. Motion photographs better than static poses and feels less self-conscious.
- The back-to-camera classic. Looking away from the lens toward the view is flattering, natural, and sidesteps the “staring awkwardly at a tripod” problem entirely.
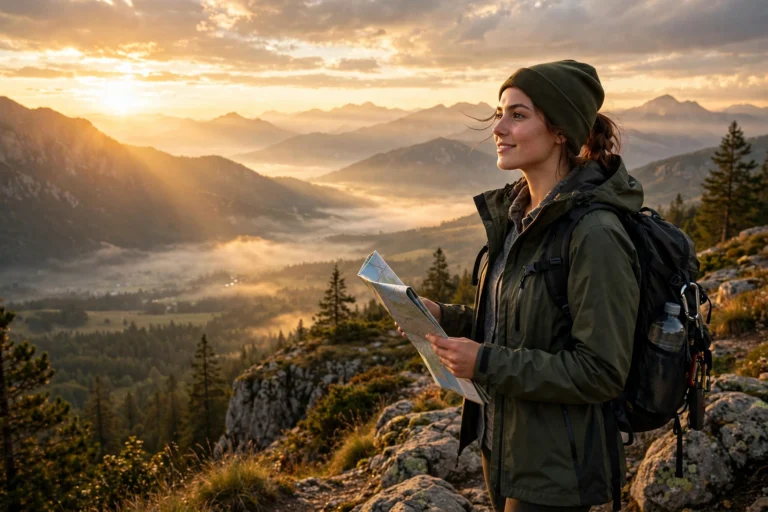
- Use a prop. A coffee cup, a map, your sunglasses — something in your hands eliminates the “what do I do with my hands” panic and adds story to the shot.
- Create triangles. Bend an elbow, pop a knee, tilt your head — angular shapes photograph dramatically better than straight limbs. It sounds technical; in practice it just means “don’t stand like a plank.”
- Shoot the details too. The best travel albums aren’t all selfies: textures, street signs, food, doorways, your feet on a viewpoint. Detail shots tell the story between the portraits.
Light and Composition: The 80/20
You don’t need photography school — just these:
- Golden hour is real. The hour after sunrise and before sunset gives soft, flattering light. Midday sun creates harsh shadows; if you must shoot midday, find open shade.
- Rule of thirds. Imagine a 3×3 grid; place yourself or the subject at an intersection rather than dead center. Most phones can overlay the grid in settings — turn it on.
- Get low or get high. Eye-level shots are boring. Put the phone near the ground for dramatic foregrounds, or hold it high for a fresh perspective on streets and markets.
- Clean the lens. The single most common reason for hazy travel photos. Wipe it before every session — your pocket is a lint factory.
Staying Safe While Shooting Solo
Photography creates vulnerability: you’re distracted, your expensive gear is out, and you may be in odd positions in unfamiliar places. Non-negotiable rules:
- Never risk the shot. Cliff edges, train tracks, restricted areas — no photo is worth it. The famous “danger selfies” that end badly are almost always solo travelers.
- Watch your gear, not just the frame. In crowded tourist areas, keep your bag zipped and in front of you while shooting. Pickpockets love distracted photographers.
- Be discreet with expensive cameras in areas known for theft. The phone often draws less attention.
- Ask before photographing people, especially in markets, villages, and religious sites. A smile and a gesture go a long way; accept “no” gracefully.
Editing: Where Good Becomes Great
Editing is half of modern travel photography. You don’t need Photoshop — free tools are plenty:
- Snapseed or Lightroom Mobile (both free) handle 95% of travel editing: straighten, crop, adjust exposure and shadows, add a consistent look.
- Develop a light preset — one consistent style across your trip’s photos makes the whole album feel professional.
- Edit on the plane home, not in the moment. Shoot now, curate later. Culling 200 burst shots at the café wastes golden exploring hours.
FAQ
How do I take good photos of myself traveling alone?
Use your phone’s rear camera with a self-timer or burst mode, prop it on something stable (or bring a $25 compact tripod), and shoot during golden hour. Moving shots — walking toward the camera — look more natural than static poses. Ask fellow travelers for the must-have shots.
What is the best camera setup for solo travel photography?
Your phone plus a compact tripod and a Bluetooth remote — under $50 total, fits in a daypack. Upgrade to a mirrorless camera only if you’re already into photography; for most travelers the phone setup produces excellent results with far less hassle.
How do you ask strangers to take your photo?
Set up the shot first (frame it, tap to focus), then ask someone who looks friendly — ideally another traveler or someone already taking photos. Give one clear direction (“please include the whole building behind me”), offer to return the favor, and take a quick look before thanking them.
Is it safe to use a tripod in tourist areas?
Generally yes, but stay aware: a tripod marks you as carrying gear worth stealing in high-theft areas. Keep your bag zipped and close, don’t leave equipment unattended, and in very crowded spots consider shooting handheld or with the phone propped instead. For the apps that help with navigation and translation while you shoot, see our best solo travel apps.